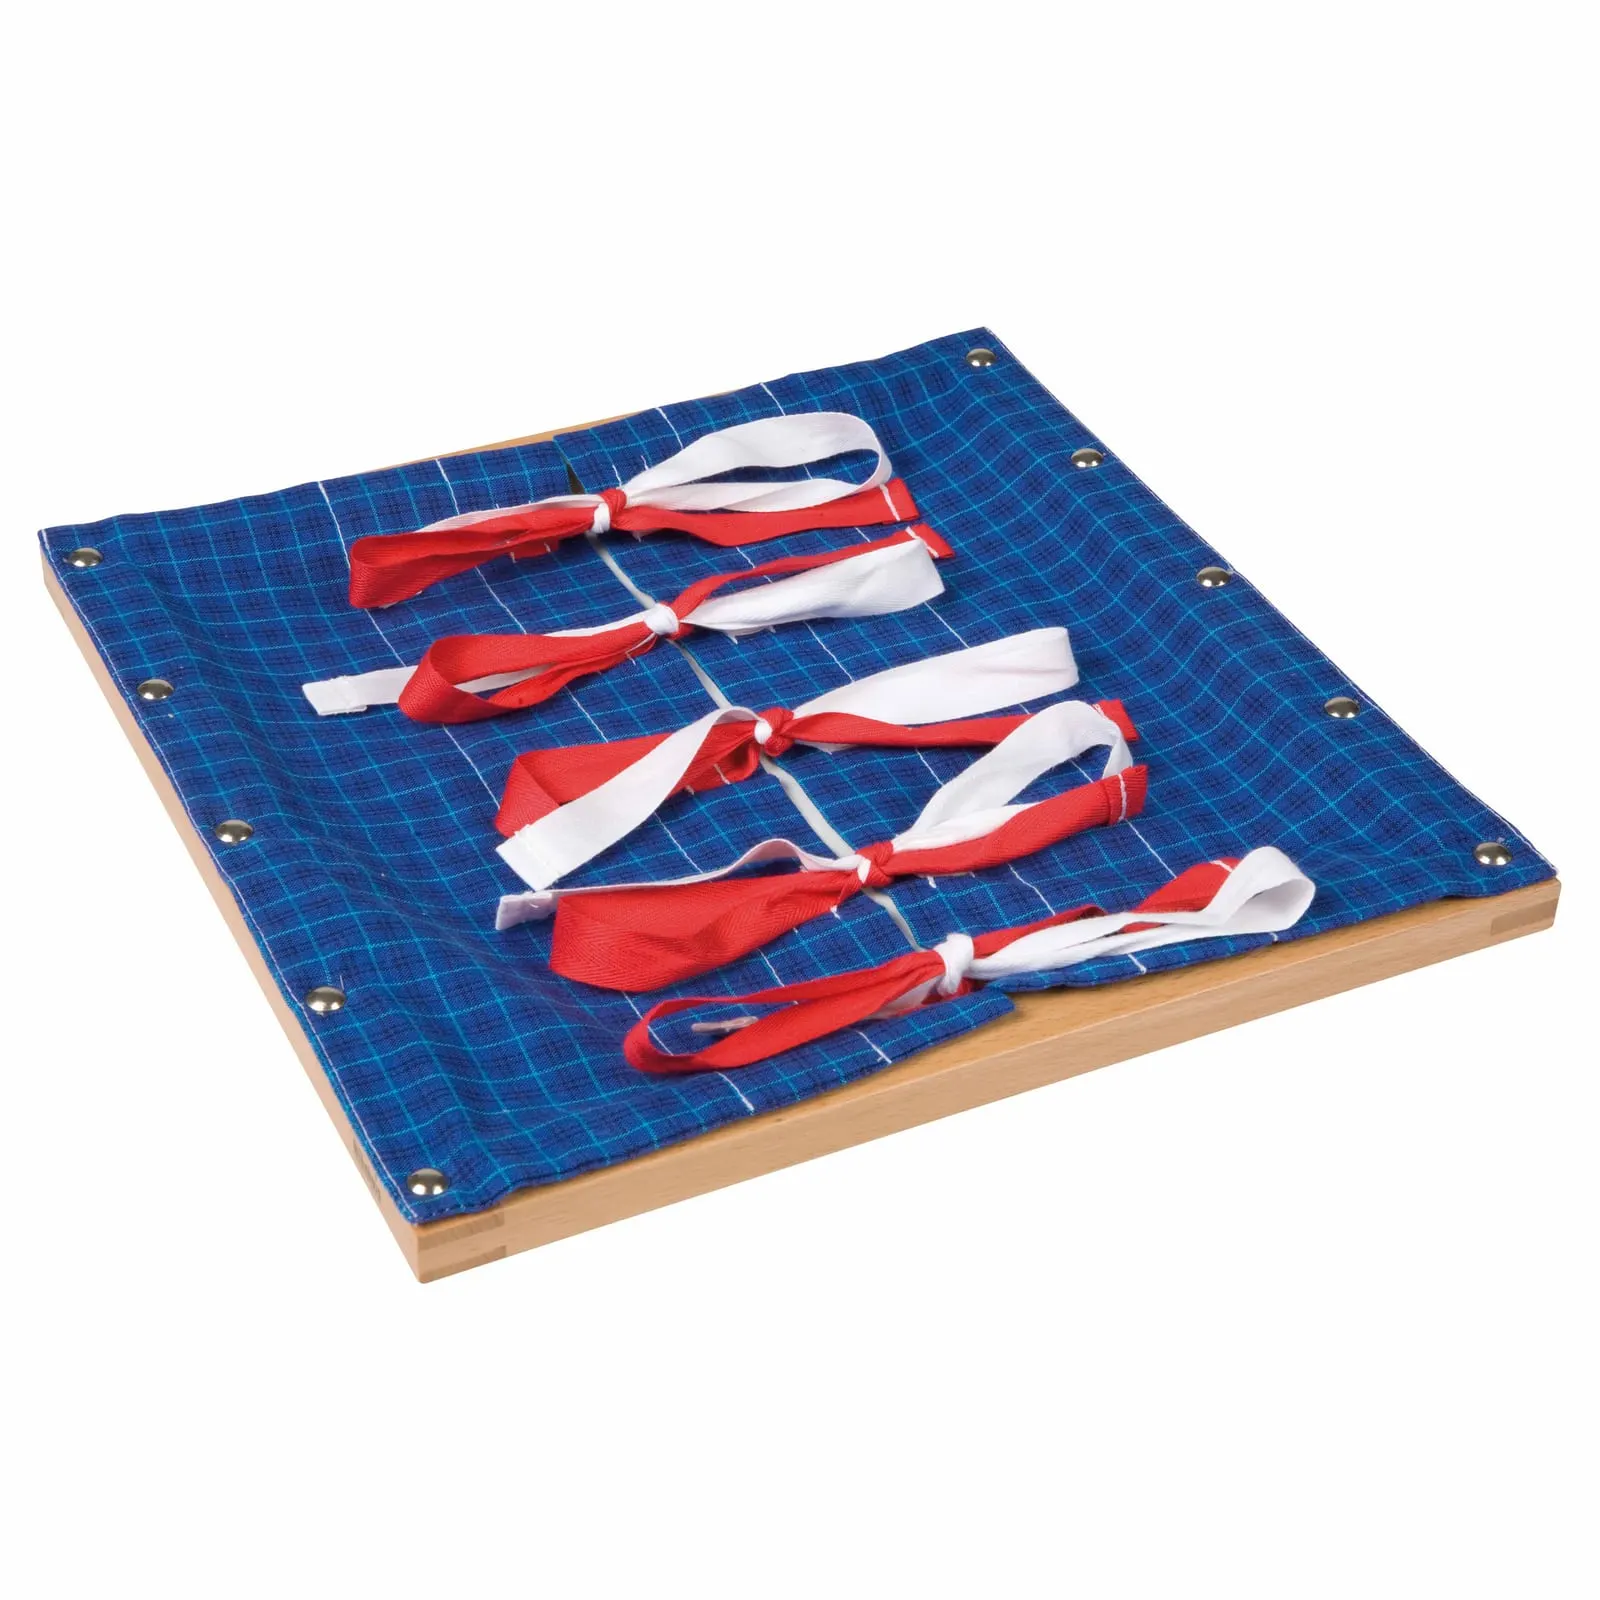
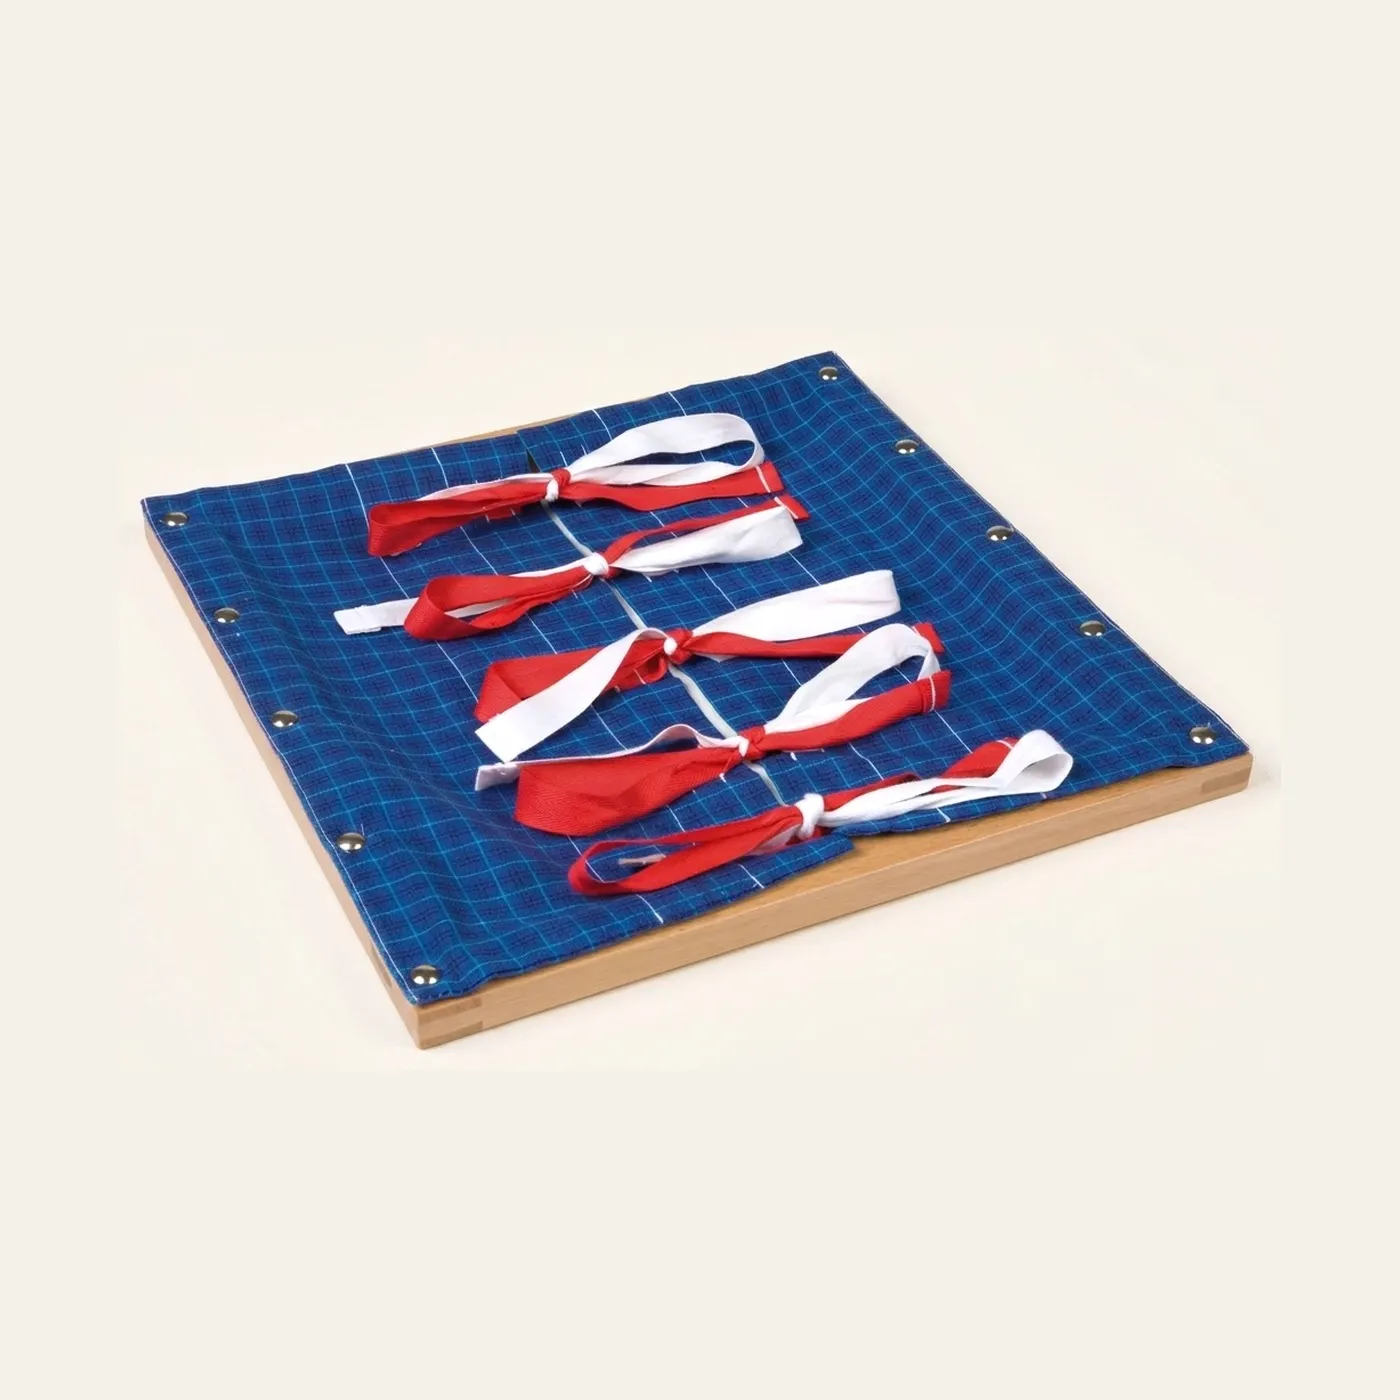
Bow Tying Frame: Five Ribbon Sets for Coordination Practice
Made by Nienhuis Montessori · shipped by Heutink International (Netherlands) About the maker
The bow tying frame with five ribbon sets, beechwood with durable textile, 29.5 by 29.5 cm. Bows are the last of the dressing frames and the only fastening with no built in check: every other frame either closes or does not, but a bow can be tied wrongly and still hold, then fall apart an hour later. Five sets means a child can compare their first attempt with their fifth without undoing anything. Wood, cotton and satin ribbon, for ages 3 to 6.
“The hands are the instruments of man's intelligence.”
The Bow Tying Frame embodies Maria Montessori's principle of 'Help me to do it myself' by isolating the complex skill of bow tying from the context of dressing.
- Bilateral hand coordination through simultaneous ribbon manipulation
- Sequential memory development by following multi-step bow tying process
- Fine motor control and pincer grip refinement
- Visual-motor integration through precise ribbon crossing and loop formation
Read More
This isolation of difficulty allows the child to focus solely on the movements required without the distraction of managing shoes or clothing. The frame respects the child's need for repetition, offering unlimited practice opportunities in a controlled environment. The contrasting red and white ribbons provide visual clarity, supporting the child's developing visual discrimination. This material honors the sensitive period for order and movement (ages 2.5-4.5), when children are naturally drawn to mastering precise hand movements. By offering real-life skills in an accessible format, the frame supports the child's drive toward functional independence, building both competence and confidence that directly transfers to daily life.
How to present it
Follow the Montessori method of presentation for optimal child development.
Place the frame on a table at the child's working height. Ensure all ribbons are untied and lying flat. Sit to the child's right if you are right-handed (left if left-handed). Work slowly with deliberate, isolated movements.
- 1
Cross the right ribbon over the left ribbon, creating an X shape
Use your dominant hand to hold the intersection point steady - 2
Tuck the right ribbon under and through the opening, pulling both ends to create a knot
Emphasize the 'under and through' movement with a slight pause - 3
Form a loop with the left ribbon, holding it between thumb and index finger
Keep the loop small and close to the knot for better control - 4
Wrap the right ribbon around the base of the loop
Move slowly to show the ribbon going 'around the tree' - 5
Push the middle of the right ribbon through the space behind the loop to form the second loop
Use your index finger to guide the ribbon through - 6
Hold both loops and pull gently to tighten the bow
Pull equally on both sides to create a balanced bow
Every Child Is a Little Creator

Heritage
Since 1929

In classrooms
Around the world

European brands
Nienhuis, GAM, Educo

AMI approved
To the association standard
Bow Tying Frame: Five Ribbon Sets for Coordination Practice
