
Buttoning Frame: Large Buttons for Beginning Fine Motor Skills
Made by Nienhuis Montessori · shipped by Heutink International (Netherlands) About the maker
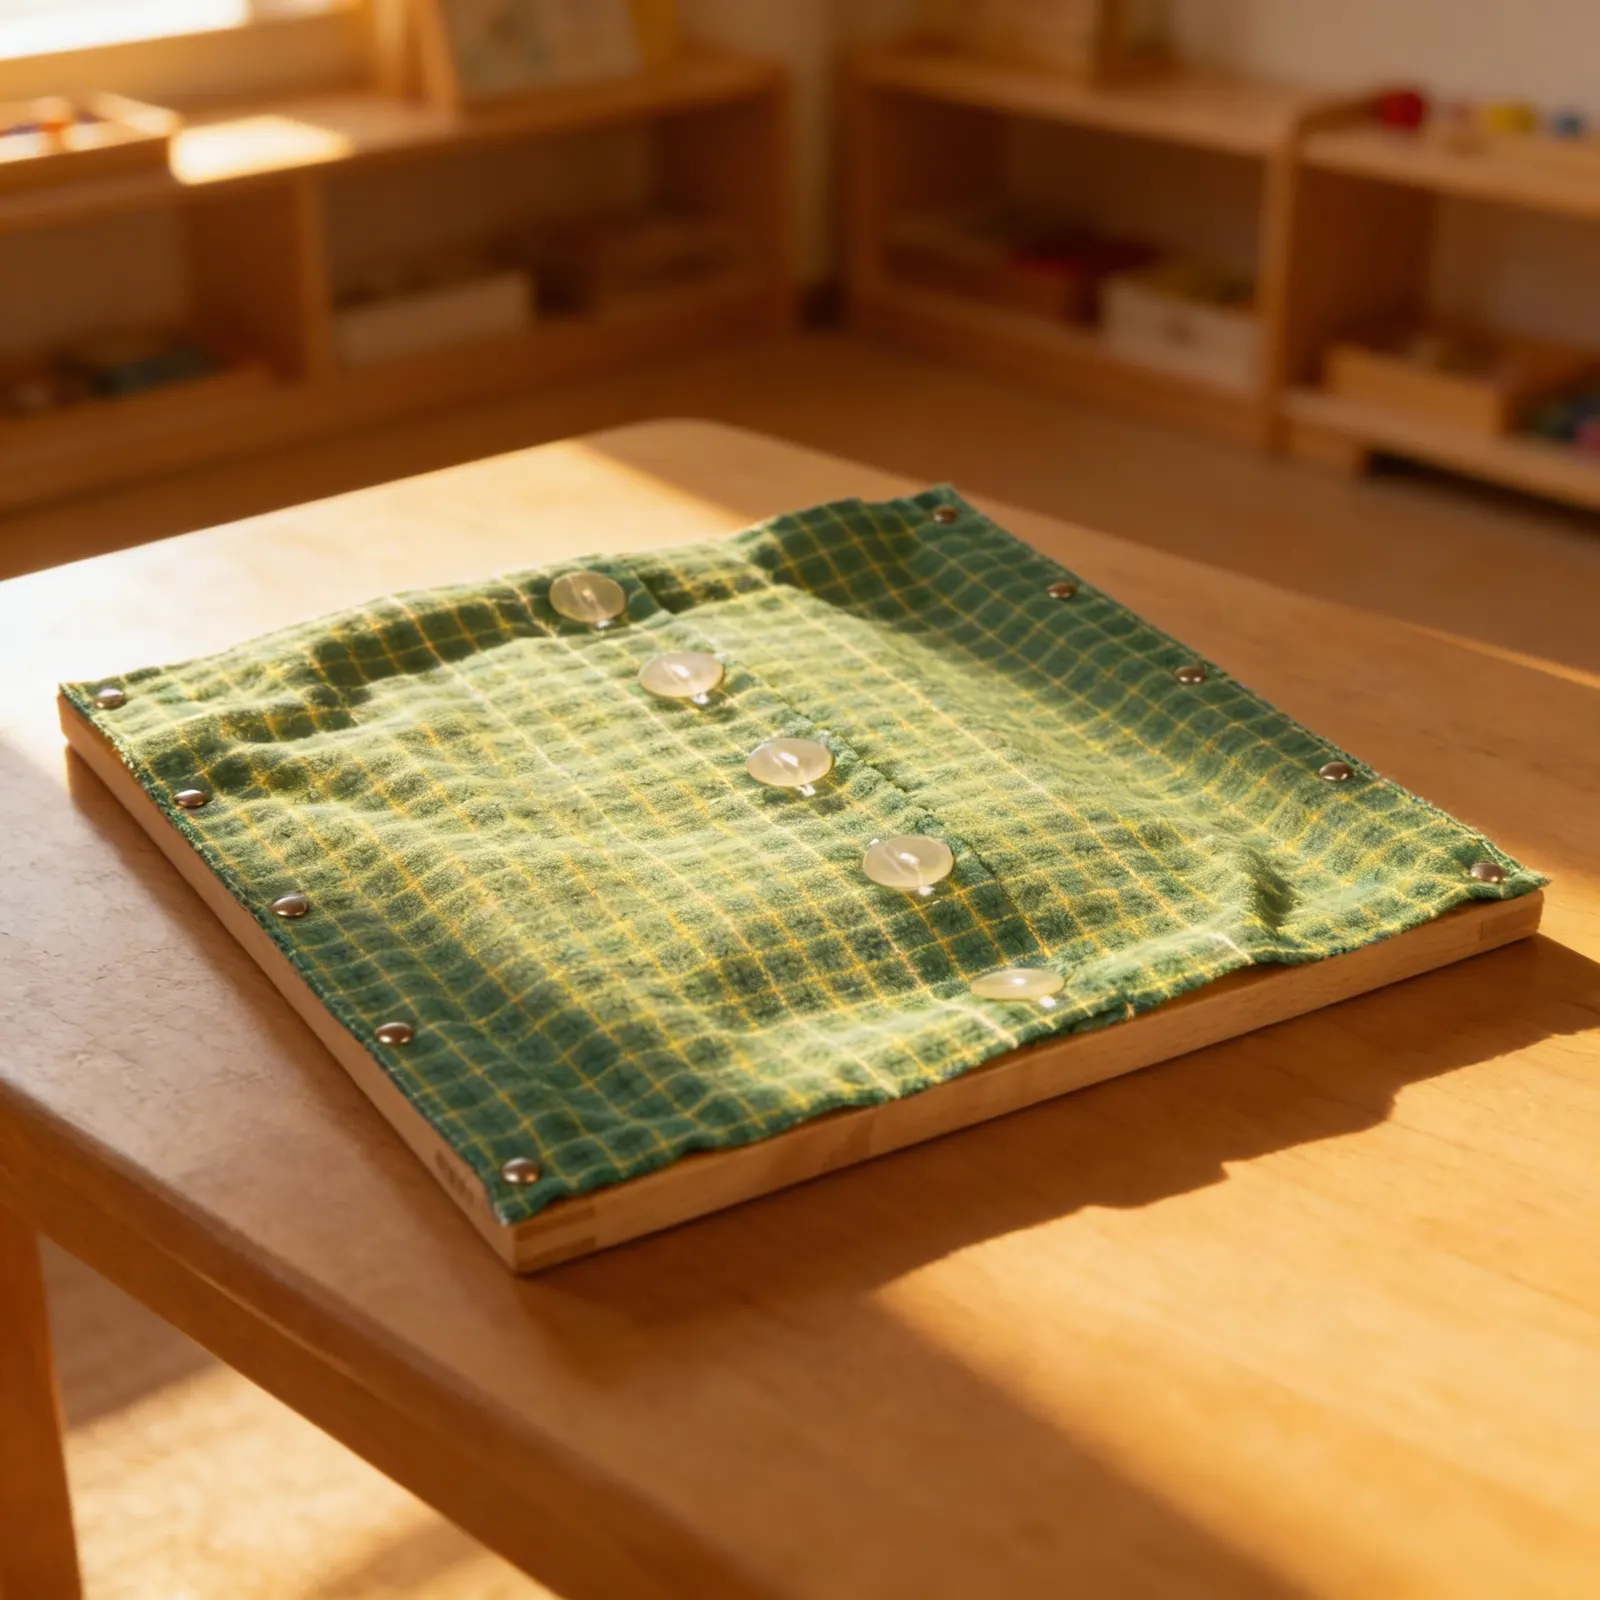
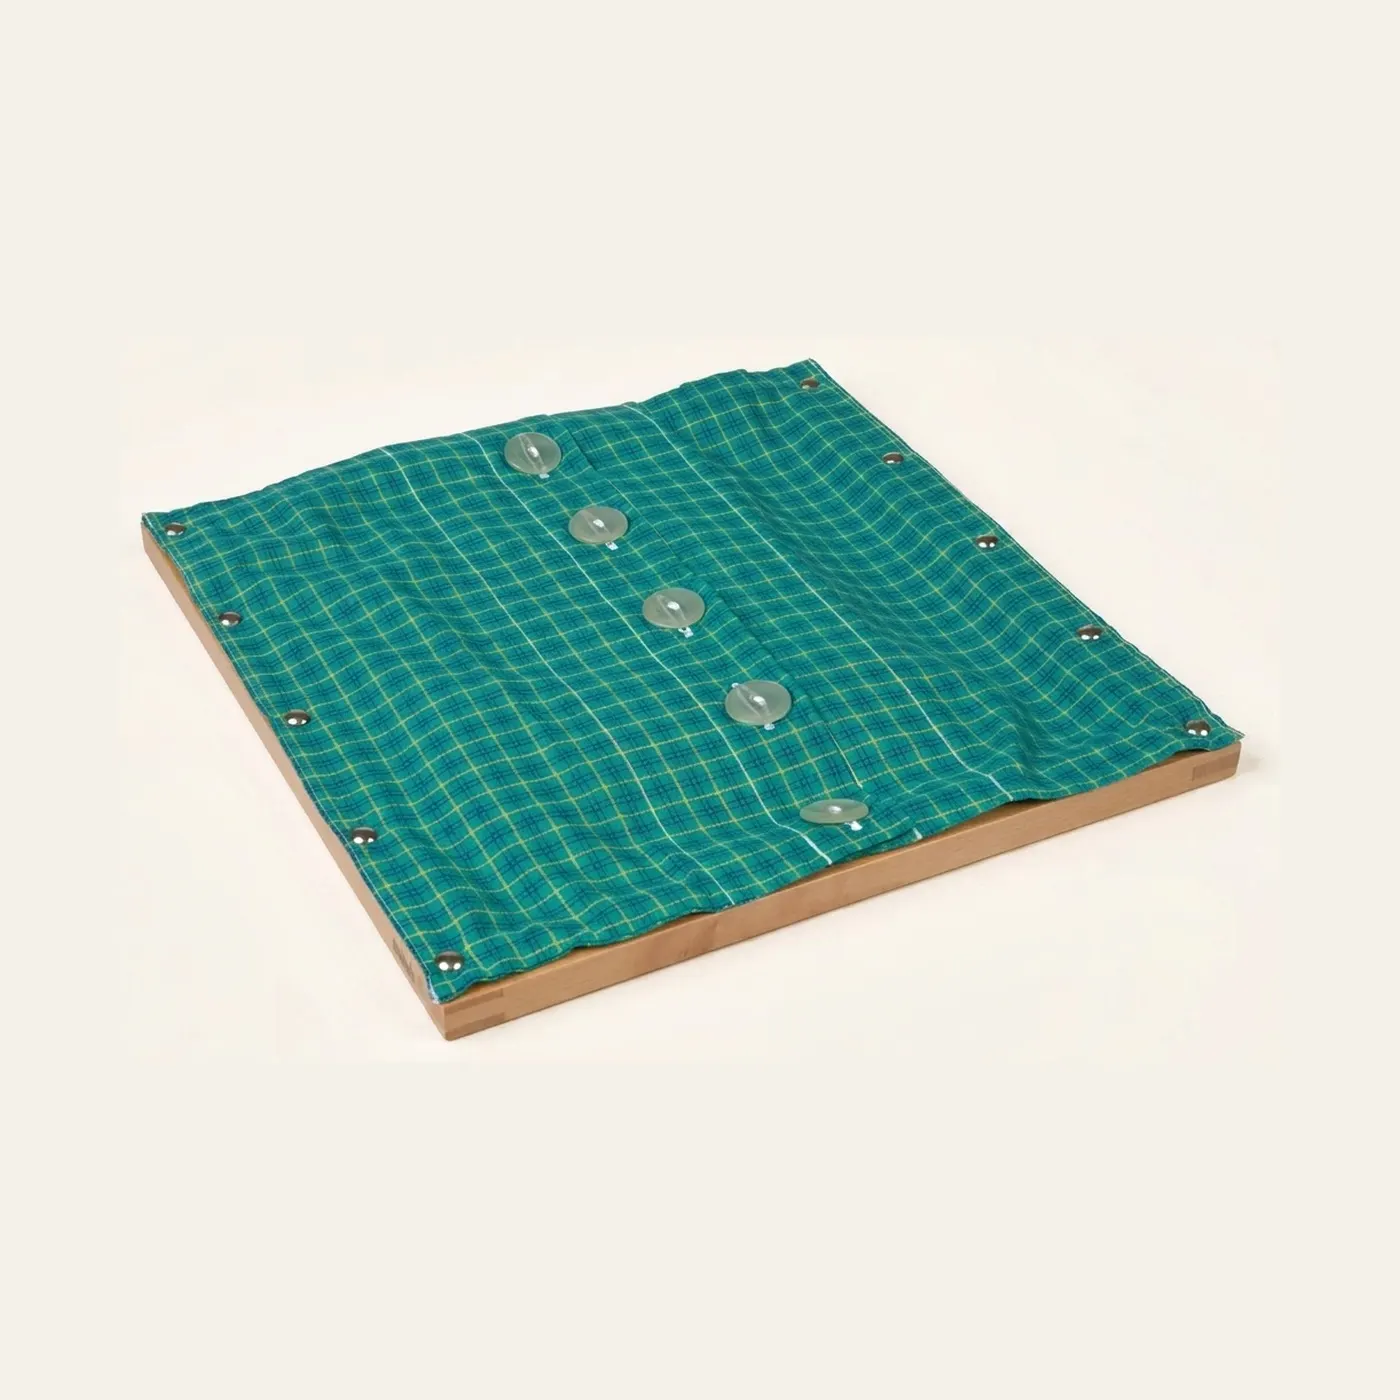
The buttoning frame with large buttons, beechwood with durable textile, 29.5 by 29.5 cm. Large is where buttoning starts, and the size does something specific: a big button can be pinched and pushed with the whole fingertip rather than the very edge of a nail, so the child can attend to the sequence instead of to keeping hold. The sequence is the difficult part, since a button must be pushed through and then caught on the far side without being let go. Wood, cotton and buttons, for ages 3 to 6.
“Children display a universal love of mathematics, which is par excellence the science of precision, order, and intelligence.”
The Buttoning Frame embodies Maria Montessori's principle of 'isolation of difficulty' by presenting the complex skill of buttoning without the added challenge of dressing oneself.
- Develops pincer grip and finger strength essential for writing preparation
- Refines hand-eye coordination through precise button-to-buttonhole alignment
- Builds concentration through repetitive, purposeful movement
- Fosters independence in self-care and dressing skills
Read More
This material respects the child's innate drive toward independence and self-perfection through repetition. By offering real, purposeful work sized appropriately for small hands, we honor the child's dignity and capacity for concentration. The diagonal arrangement of buttons provides a clear visual pattern that appeals to the child's sense of order, while the large buttons offer just the right level of challenge for the absorbent mind. This practical life exercise serves as indirect preparation for writing, as the pincer grip and hand movements mirror those needed for holding a pencil.
How to present it
Follow the Montessori method of presentation for optimal child development.
Place the frame on a table at the child's working height. Sit to the child's right if you are right-handed. Ensure all buttons are fastened before the presentation.
- 1
Place both hands at the top corners of the frame, demonstrating how to hold it steady
Move slowly and deliberately, allowing the child to absorb each movement - 2
Using your dominant hand's thumb and index finger, grasp the top button while the other hand holds the fabric taut
Exaggerate the pincer grip to make it visible to the child - 3
Push the button halfway through the buttonhole using a gentle rocking motion
Pause at this midpoint to show the child the button emerging - 4
With your non-dominant hand, grasp the emerging button edge and pull it completely through
Make the 'hand switch' very clear and deliberate - 5
Smooth the fabric flat after each button is undone, working diagonally down
This smoothing motion provides a natural pause and sense of completion - 6
To button, reverse the process: push the button from underneath, grasp with opposite hand, and pull through completely
Emphasize that buttoning requires pushing from below, not from above
Every Child Is a Little Creator

Heritage
Since 1929

In classrooms
Around the world

European brands
Nienhuis, GAM, Educo

AMI approved
To the association standard
Buttoning Frame: Large Buttons for Beginning Fine Motor Skills
