
Dressing Frame: Snaps: Metal Snap Fasteners on Red & Black Plaid
Made by Nienhuis Montessori · shipped by Heutink International (Netherlands) About the maker
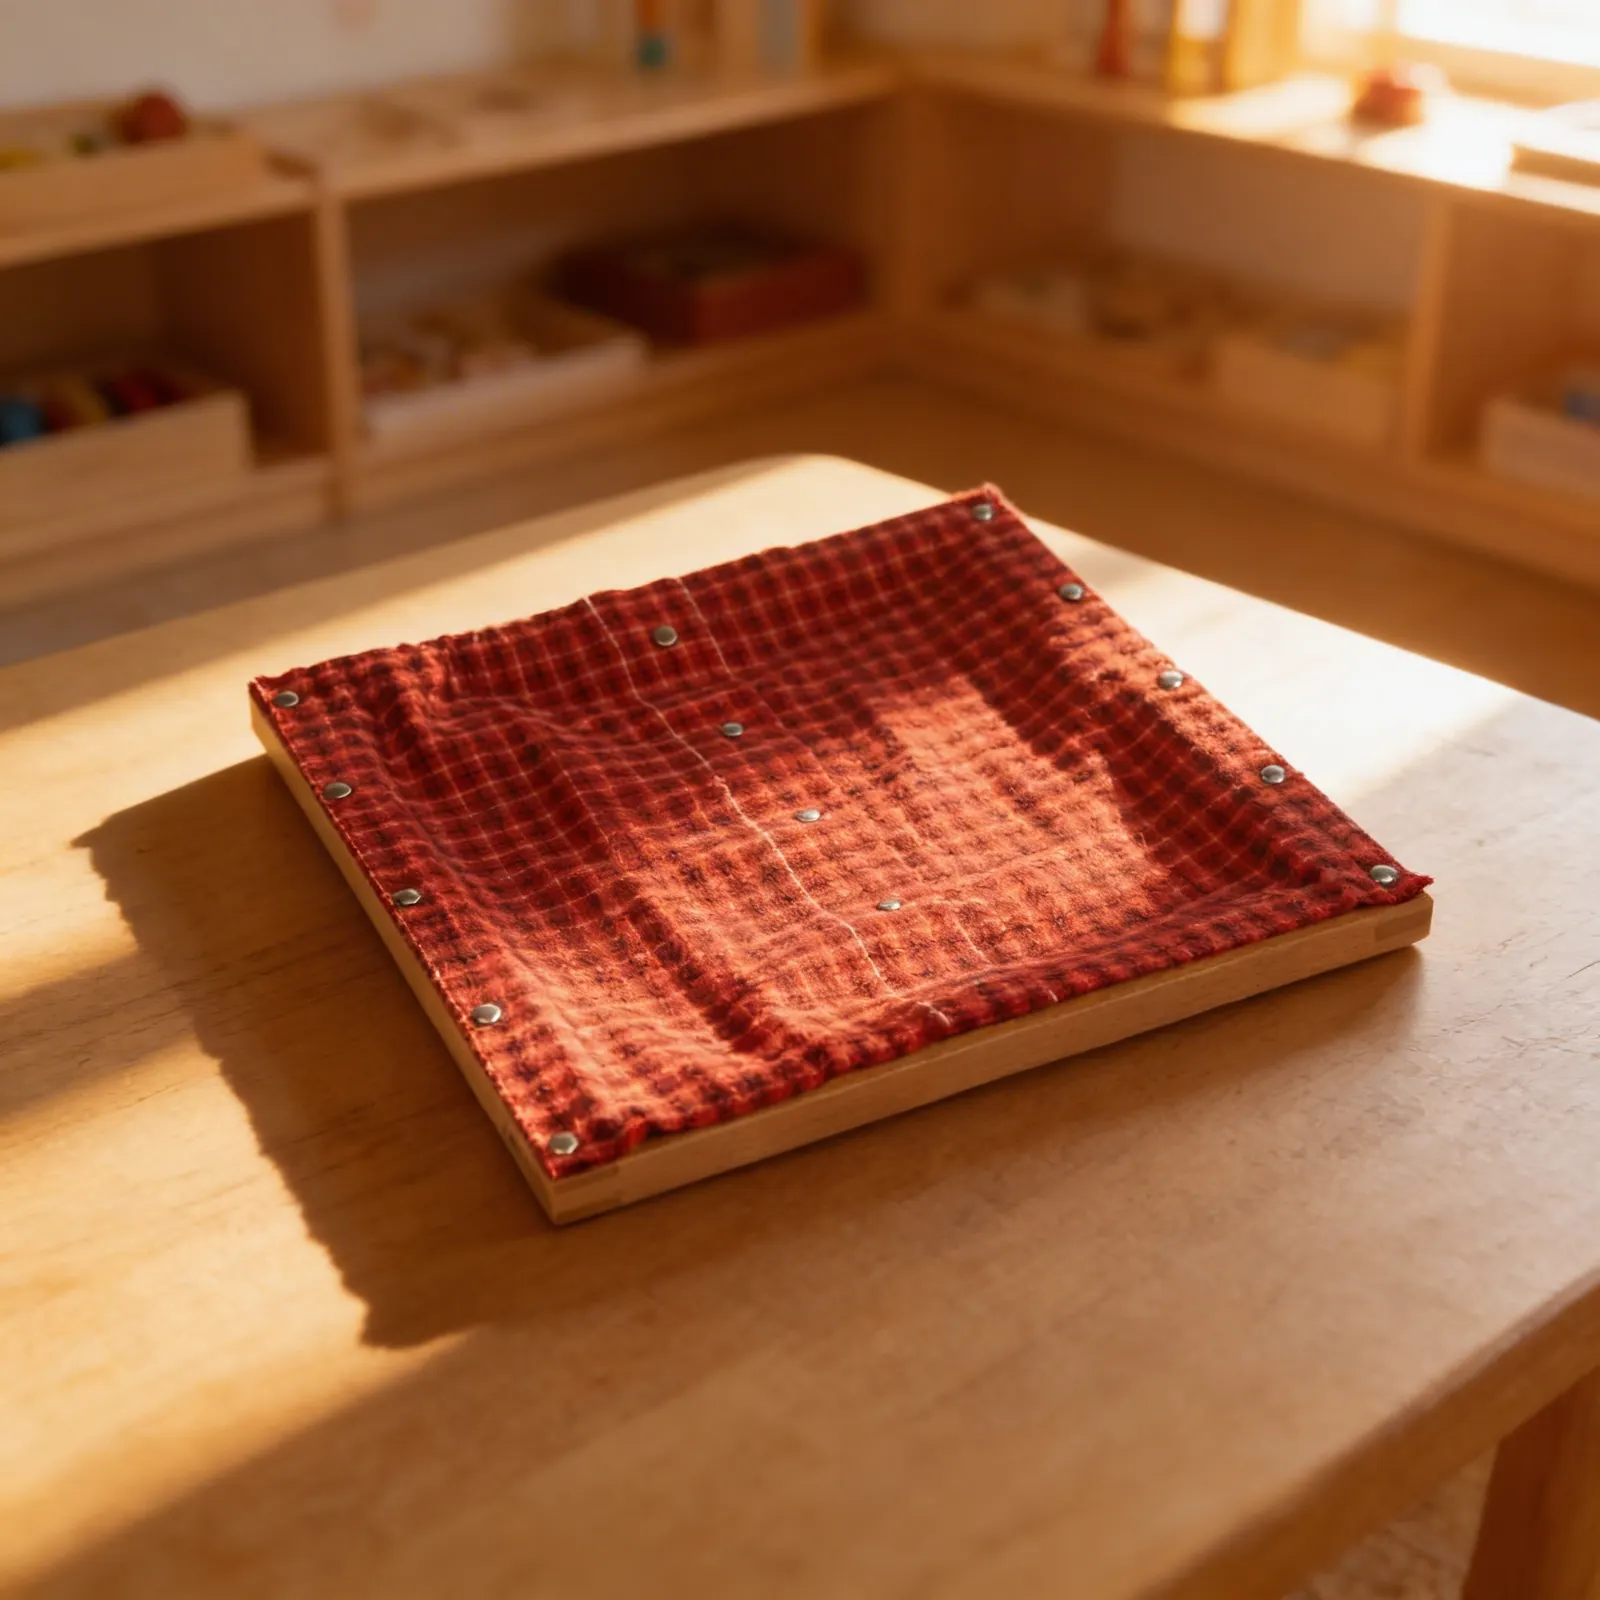
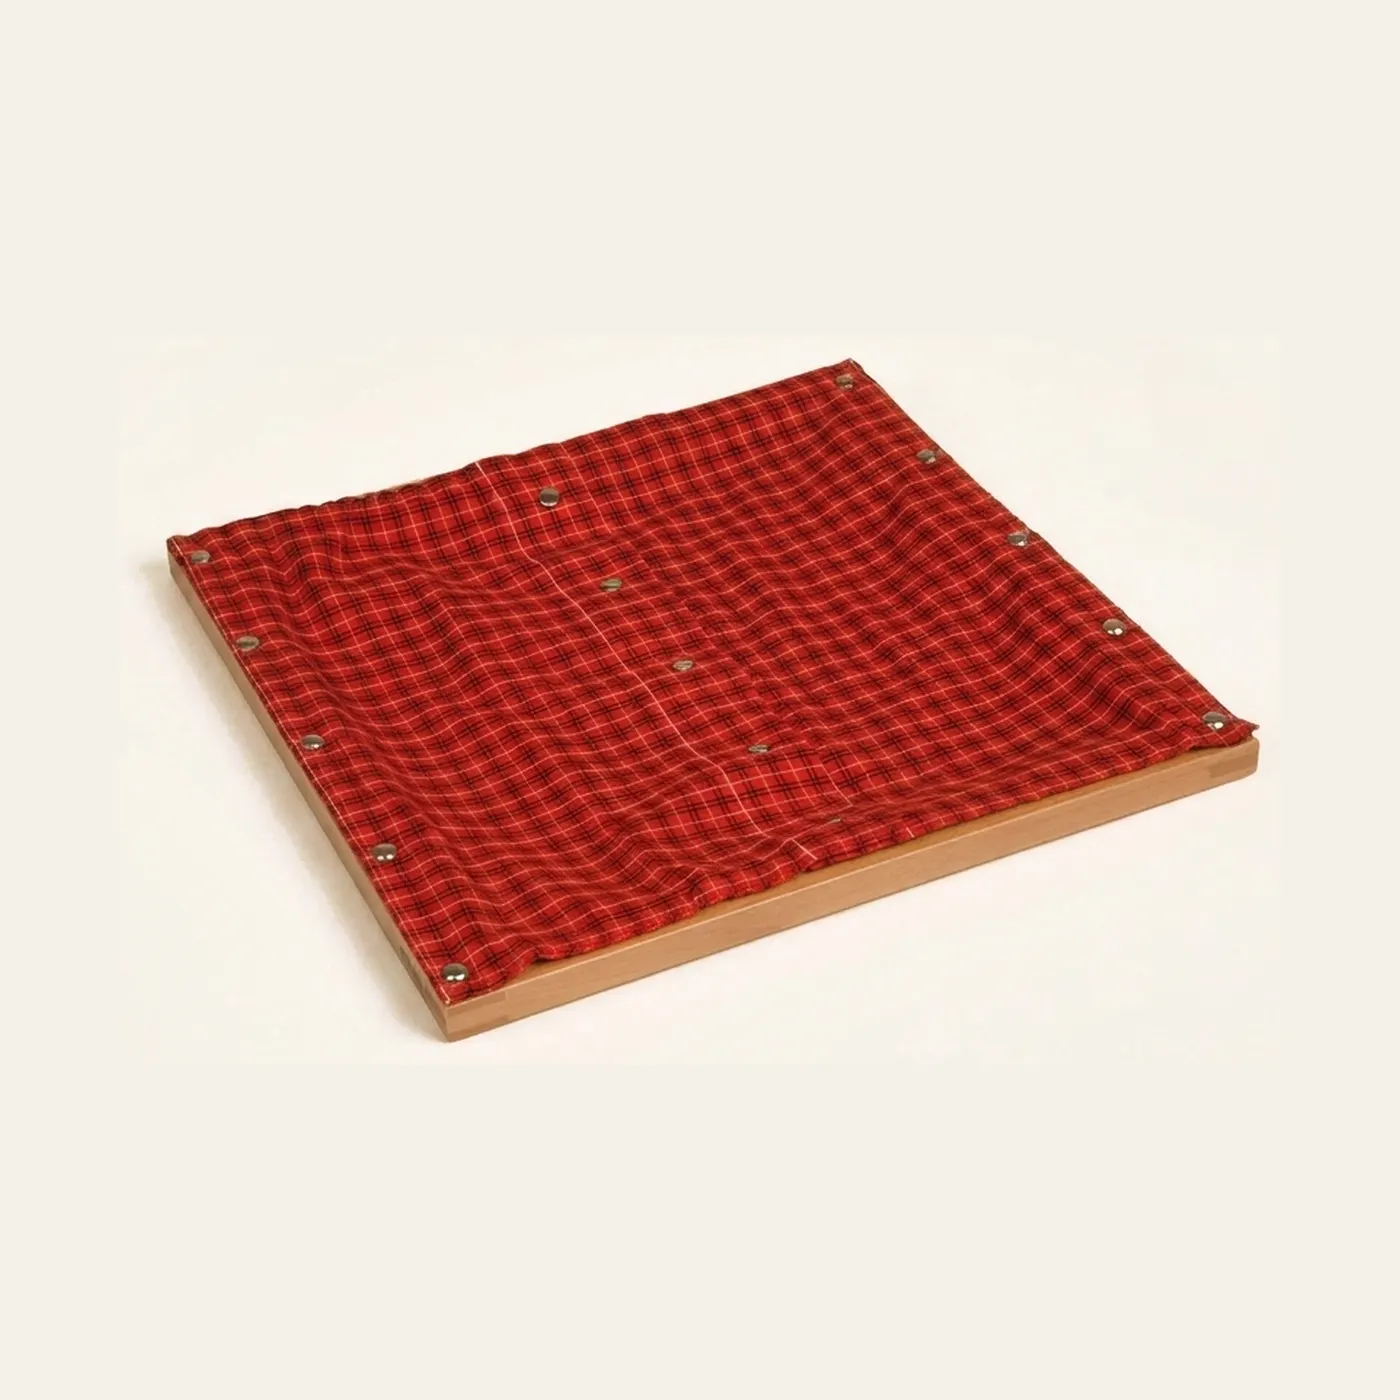
The snapping frame in red and black plaid, beechwood with durable textile, 29.5 by 29.5 cm. Snaps fail quietly, which is what makes a row of them worth practising: a snap that is only half pressed looks closed and comes apart when the child moves. Working down the row teaches the same lesson buttoning does, that starting on the wrong one puts everything below it out by one, and here the mistake is visible only at the end. Wood, cotton and metal snaps, for ages 3 to 6.
“Free the child's potential, and you will transform him into the world.”
The Snapping Frame embodies Maria Montessori's principle of 'isolation of difficulty,' presenting only the snapping mechanism without the complexity of managing an entire garment.
- Refined pincer grasp and bilateral hand coordination
- Visual-motor integration through precise alignment of snap components
- Sequential memory and order through systematic opening and closing
- Concentration and focus through repetitive, purposeful movement
Read More
This material respects the child's natural drive toward independence, recognizing that self-care activities are deeply meaningful work. By offering repeated practice with real, functional fasteners, we honor the child's need for purposeful activity that directly connects to daily life. The frame's design allows for concentrated effort and self-correction, supporting the development of executive function through the coordination of mind and hand. This work satisfies the child's inner need to 'do it myself,' building confidence through mastery of practical skills that contribute to their growing independence and self-esteem.
How to present it
Follow the Montessori method of presentation for optimal child development.
Place the frame on a table at the child's working height. Sit to the child's right if you are right-handed. Ensure good lighting and a calm environment free from distractions.
- 1
Hold the frame steady with your non-dominant hand. With your dominant hand, grasp the top fabric near the first snap using thumb and index finger.
Move slowly and deliberately, allowing the child to see each precise movement - 2
Pull the fabric gently outward and upward to release the snap, making the 'pop' sound audible.
Exaggerate the pincer grasp slightly to make the finger position visible - 3
Continue opening each snap from top to bottom, maintaining the same rhythm and technique.
Pause between snaps to allow the child to process each movement - 4
Once all snaps are open, smooth the fabric panels to show the completed work.
This moment of completion allows the child to see the full result - 5
To close, align the first snap components carefully, positioning the ball over the socket.
Point out the visual alignment needed for success - 6
Press firmly with thumb on top and index finger underneath until you hear the snap engage.
The auditory feedback confirms correct technique - 7
Continue closing each snap from top to bottom, maintaining consistent pressure.
Emphasize the satisfaction of completing the full sequence
Every Child Is a Little Creator

Heritage
Since 1929

In classrooms
Around the world

European brands
Nienhuis, GAM, Educo

AMI approved
To the association standard
Dressing Frame: Snaps: Metal Snap Fasteners on Red & Black Plaid
