
Dressing Frame: Zipper: Turquoise & Green Plaid Practice
Made by Nienhuis Montessori · shipped by Heutink International (Netherlands) About the maker
Everyday tasks become purposeful learning, this AMI-approved Zipping Frame features a vibrant turquoise and green plaid fabric mounted on a natural wood frame, designed to help children master the essential skill of operating zippers independently. The dressing frame includes metal grommets around the perimeter and a functional plastic zipper closure, providing repeated practice opportunities for developing fine motor control and self-care abilities.
“Free the child's potential, and you will transform him into the world.”
The Zipping Frame embodies Maria Montessori's principle of 'Help me to do it myself' by isolating the complex movement of zipping, allowing children to master this skill through repetition without the added challenge of manipulating clothing on their body.
- Develops pincer grip strength and bilateral hand coordination
- Builds concentration through focused, repetitive movements
- Promotes independence in dressing and self-care routines
- Enhances eye-hand coordination and visual tracking skills
Read More
This material respects the child's sensitive period for order and movement between ages 2.5-4.5, when they have an intense desire to refine hand coordination and achieve independence in daily tasks. By providing a concrete, hands-on experience with real zippers, we honor the child's need for purposeful work that directly connects to their daily life. The frame's design follows Montessori's concept of control of error - the zipper either connects properly or it doesn't, allowing the child to self-correct without adult intervention.
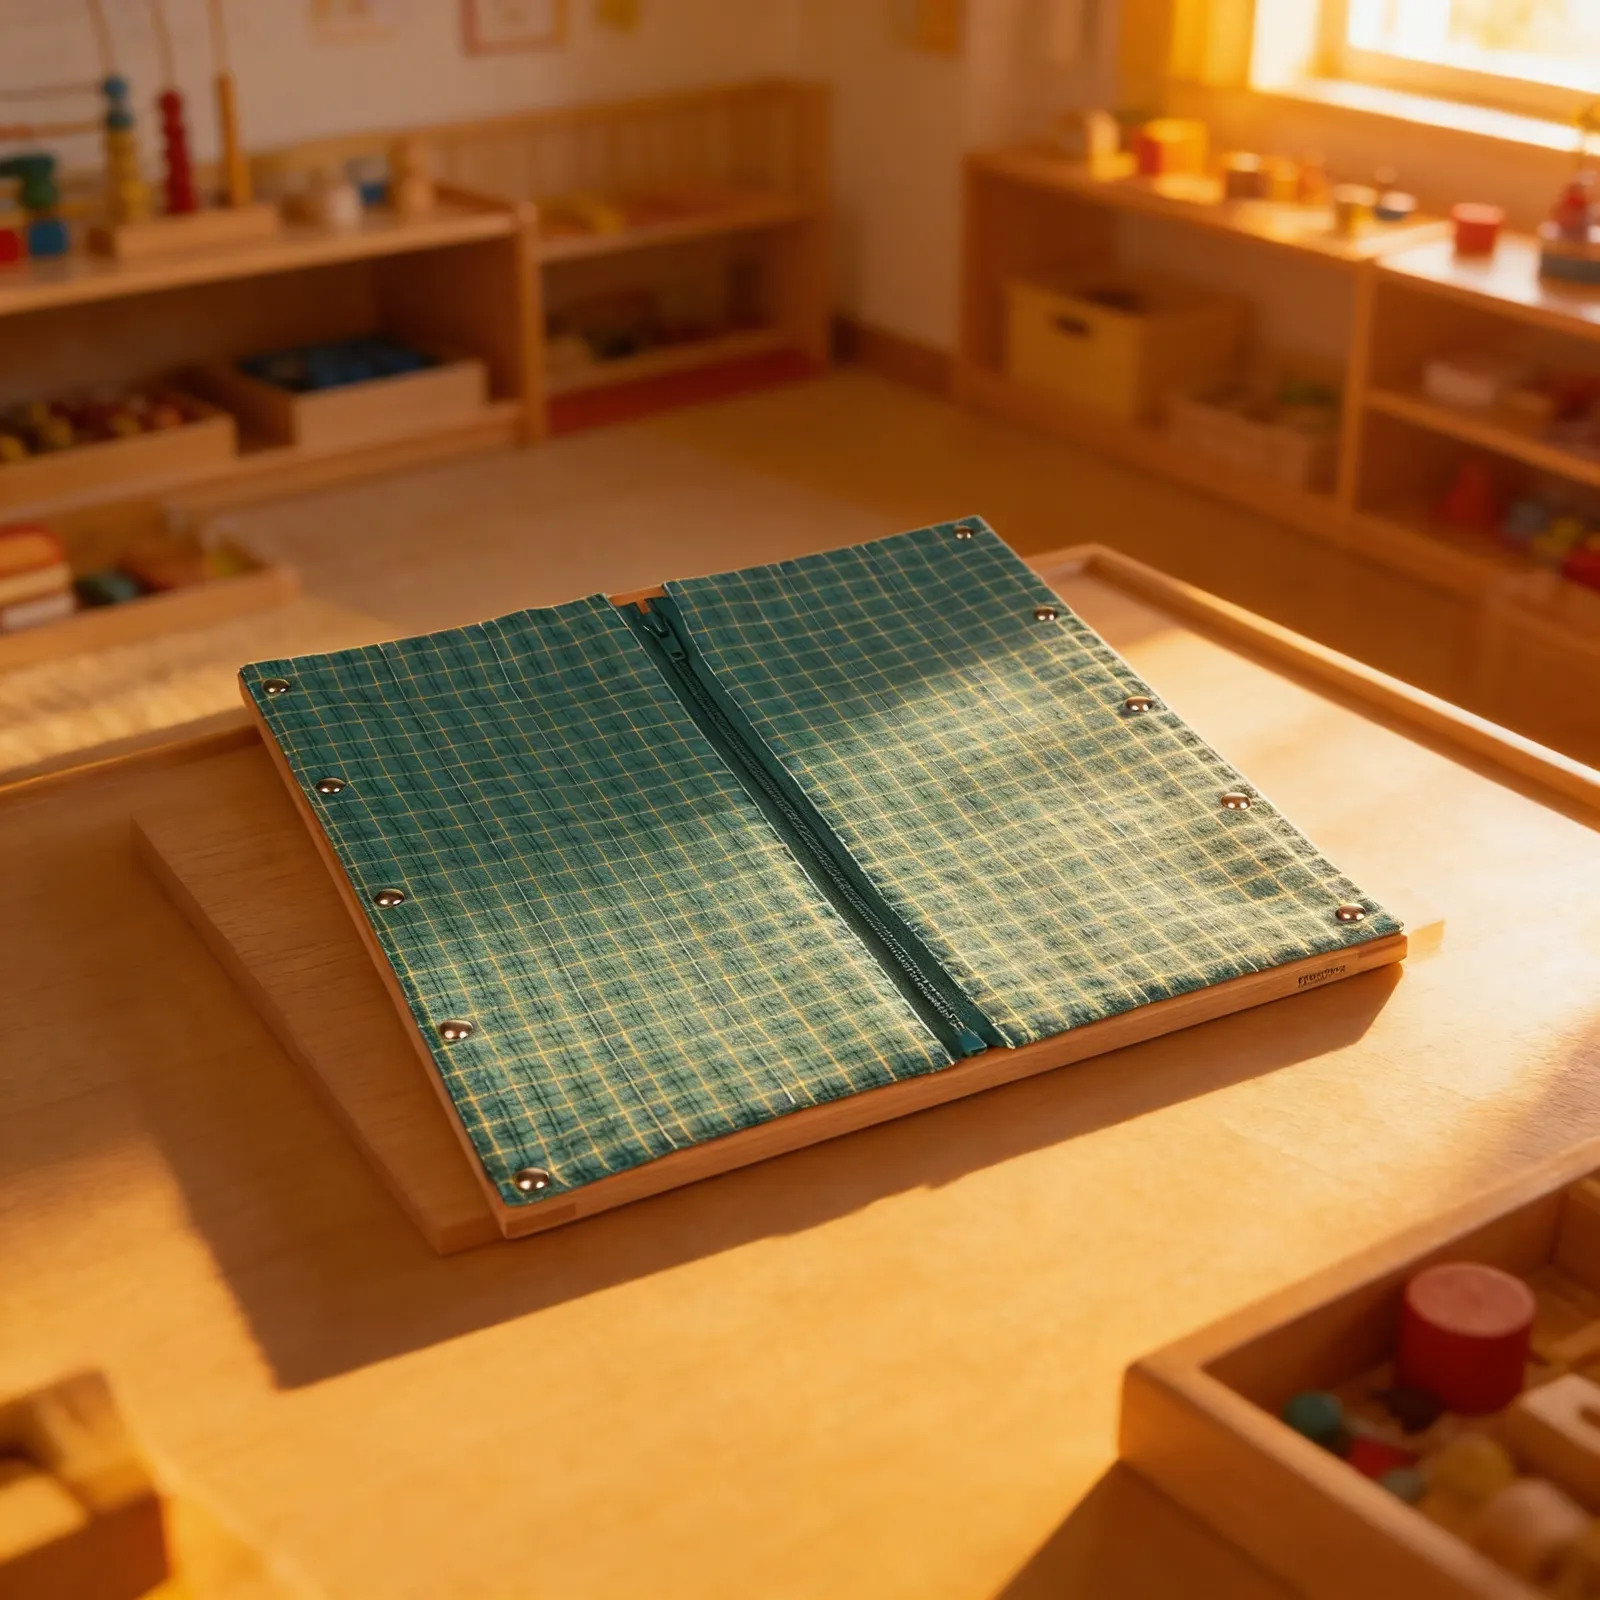
How to present it
Follow the Montessori method of presentation for optimal child development.
Place the frame on a tray at the child's work table. Ensure the zipper is fully closed before presentation. Sit to the child's dominant side.
- 1
Hold the zipper pull between thumb and index finger of dominant hand
Exaggerate the pincer grip to make the movement visible - 2
With non-dominant hand, hold the fabric taut below the zipper
This stabilization is crucial for success - emphasize this point - 3
Slowly pull the zipper down to the bottom stop
Move deliberately slowly, allowing the child to observe the teeth separating - 4
Separate the two sides completely by pulling the slider off the pin
This is often the most challenging part - demonstrate the slight angle needed - 5
To close: Insert the pin into the slider at a slight angle
Show how to feel for the 'click' when properly inserted - 6
Hold the bottom firmly while pulling the zipper up smoothly
Demonstrate checking that teeth are aligned before zipping
Every Child Is a Little Creator

Heritage
Since 1929

In classrooms
Around the world

European brands
Nienhuis, GAM, Educo

AMI approved
To the association standard
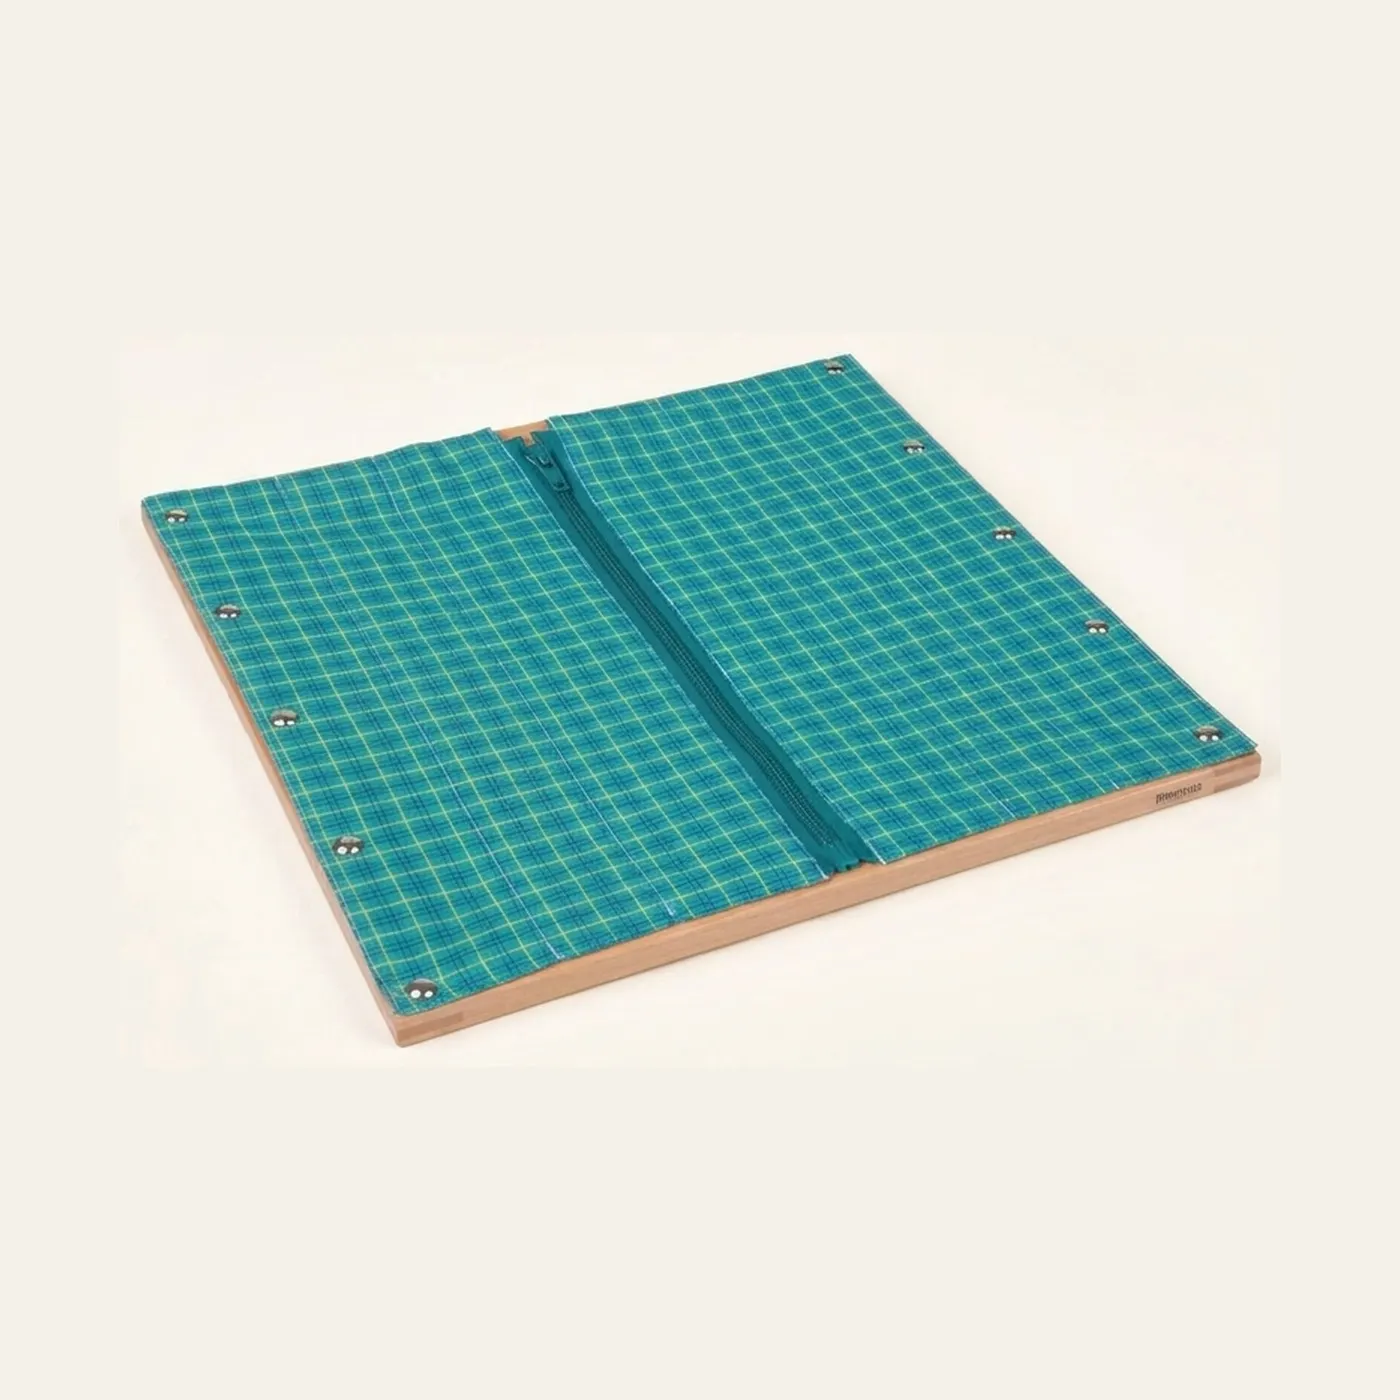
Dressing Frame: Zipper: Turquoise & Green Plaid Practice
