
ConeIndividual Geometric Solid
The first photo is the maker's own. The other shots are illustrative.
Inv. no. NIE-018812
- Maker
- Nienhuis Montessori, since 1929
- Approval
- AMI
- Product size
- 10 × 10 cm
- Primary Material
- Solid wood
- Finish
- Blue lacquered coating
- EAN
- 8719924010027
Final price incl. VAT. Delivery €5.90, €39.10 to go for free delivery.
Advice, warranty and returns are handled by us.
Why it costs €109.90
Behind the price of the original are things you can check yourself.
AMI approval
The material is approved by the Association Montessori Internationale (AMI). Nienhuis has made Montessori materials since 1929.
A verifiable original
The EAN 8719924010027 is on the box. It is the maker's number, not ours.
Cone in a child's hands
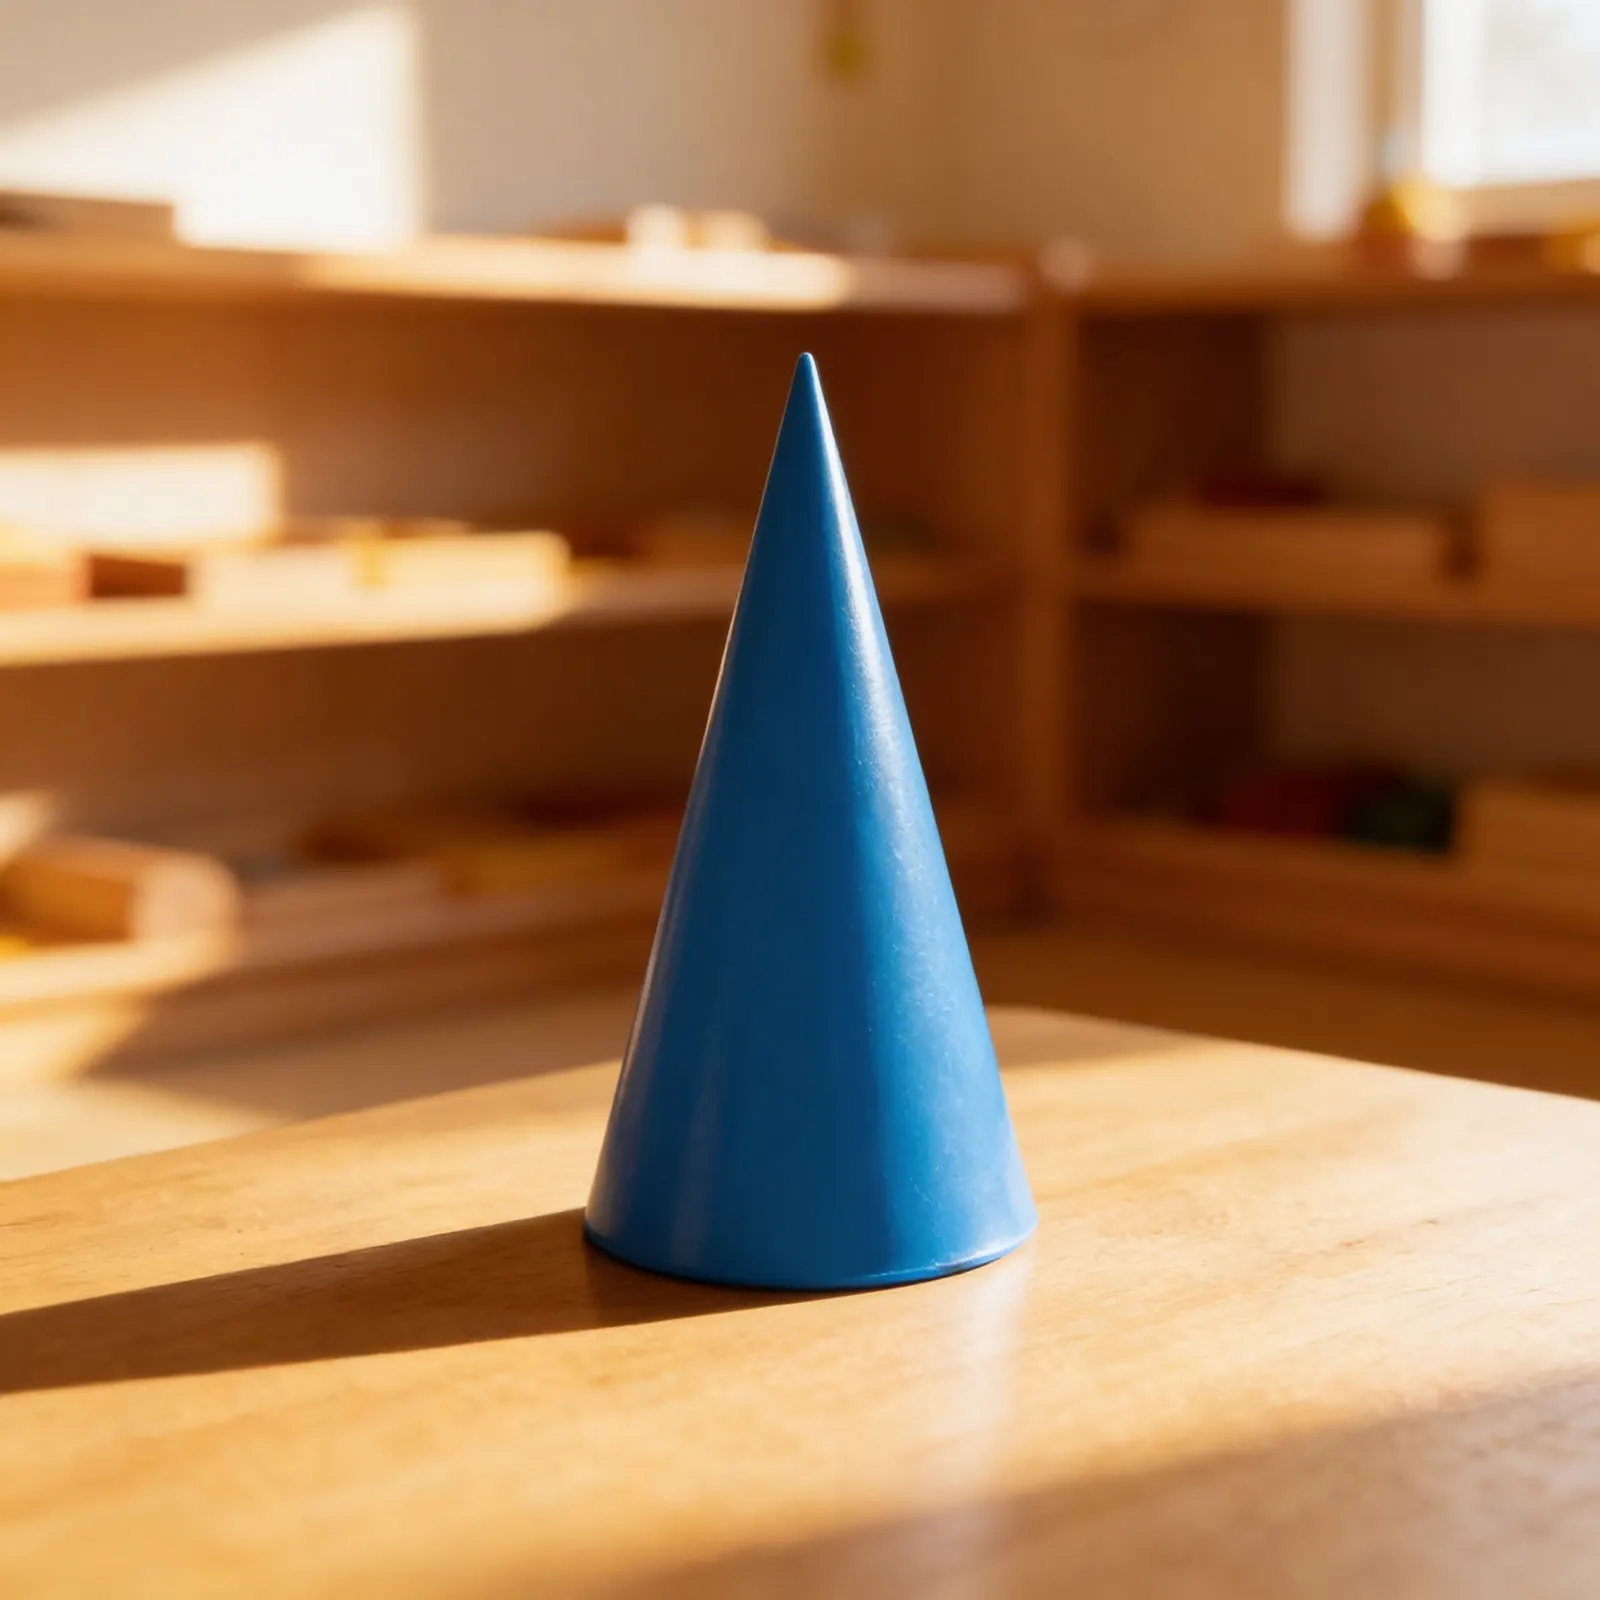
The cone from the blue geometric solids, derived like the rest of the set from a base of 10 x 10 cm and a height of 20 cm. Holding the cone against the cylinder of the same base and height is the point of the series: they look unrelated until a child pours or measures and finds the cone is exactly a third. Shared dimensions are what make the comparison honest, since nothing differs except the shape. Sold individually. Lacquered wood, for ages 6 to 12.
Geometric Understanding
Hands-on exploration of the cone's properties develops spatial reasoning and prepares for volume calculations.
Mathematical Abstraction
Physical manipulation of the solid form bridges concrete experience with abstract geometric concepts.
Sensorial Refinement
The smooth surface and substantial weight provide clear sensory impressions of the cone's unique characteristics.
How to present it
Place the cone on a felt mat alongside other geometric solids. Have measuring tools, paper, and pencil available for recording observations.
- 1Invite the child to explore the cone using both hands, feeling its weight and tracing its surface from base to apex
- 2Demonstrate rolling the cone on its curved surface, observing its circular path
- 3Trace the circular base on paper and measure its diameter and circumference
- 4Stand the cone upright and measure its height from base to apex
- 5Create cone impressions in clay or sand to explore its three-dimensional properties
3 tips for parents
- Point out cone shapes during daily activities: ice cream cones, traffic cones, party hats, and funnels
- Support mathematical vocabulary by using terms like 'apex' and 'base' when discussing cone-shaped objects
- Encourage your child to create cones from paper to understand how a flat sector becomes a three-dimensional form

If you are not sure it suits your child, we answer in person.
Norbert Kovalčín, founder of Faborino · write to him
There is no review here yet. We will ask you for one after you buy. Write the first review
What's in the Box
- Geometric Cone: Blue lacquered wooden solid
Size and material
| Product size | 10 × 10 cm |
| Packaging | 25 × 13 × 12 cm |
| Primary Material | Solid wood |
| Finish | Blue lacquered coating |
| Recommended Age | 6-12 years |
Care
Wipe with slightly damp cloth, dry immediately
Frequently Asked Questions
What are the dimensions and material of this geometric cone?
This educational cone is precisely crafted from solid wood with a smooth lacquered finish. The substantial weight and high-quality construction provide essential tactile feedback for sensorial learning. Specific dimensions are designed to be proportional for elementary-aged hands while maintaining mathematical accuracy.
How does this cone support elementary mathematics learning?
The cone introduces fundamental 3D geometry concepts including volume, surface area, and the relationship between 2D and 3D shapes. Children explore the circular base, curved surface, and apex through hands-on manipulation, preparing them for advanced mathematical concepts like calculating volume (1/3πr²h) and understanding conic sections.
What activities can children do with this geometric solid?
Children can trace the circular base, roll the cone to observe its movement pattern, compare it with other geometric solids, create impressions in sand or clay, match it to real-world cone shapes, and use it for sorting and classification exercises. It's also used in volume experiments with water or sand.
How does this cone differ from basic preschool shape materials?
Unlike simple shape sorters, this cone is designed for deeper geometric exploration appropriate for ages 6-12. The precise construction allows for accurate mathematical observations, the weight provides sophisticated sensorial feedback, and the lacquered finish enables detailed surface examination essential for understanding geometric properties.
Can this cone be used with other Montessori geometry materials?
Yes, this cone integrates perfectly with the complete set of geometric solids, geometric cabinet work, and volume materials. It complements lessons on the relationship between 2D and 3D shapes, supports comparative studies with cylinders and pyramids, and enhances understanding of curved versus plane surfaces in geometry curriculum.
Product safety
Manufacturer: Nienhuis Montessori, Anders Celsiusstraat 15, 7442 PB Nijverdal, Netherlands
Cone