
Mini Cloth Pegs
The first photo is the maker's own. The other shots are illustrative.
Inv. no. NIE-409200
- Maker
- Nienhuis Montessori, since 1929
- Peg Material
- Waxed beechwood
- EAN
- 8719924047351
Final price incl. VAT. Delivery €5.90, €108.10 to go for free delivery.
Advice, warranty and returns are handled by us.
Mini Cloth Pegs in a child's hands
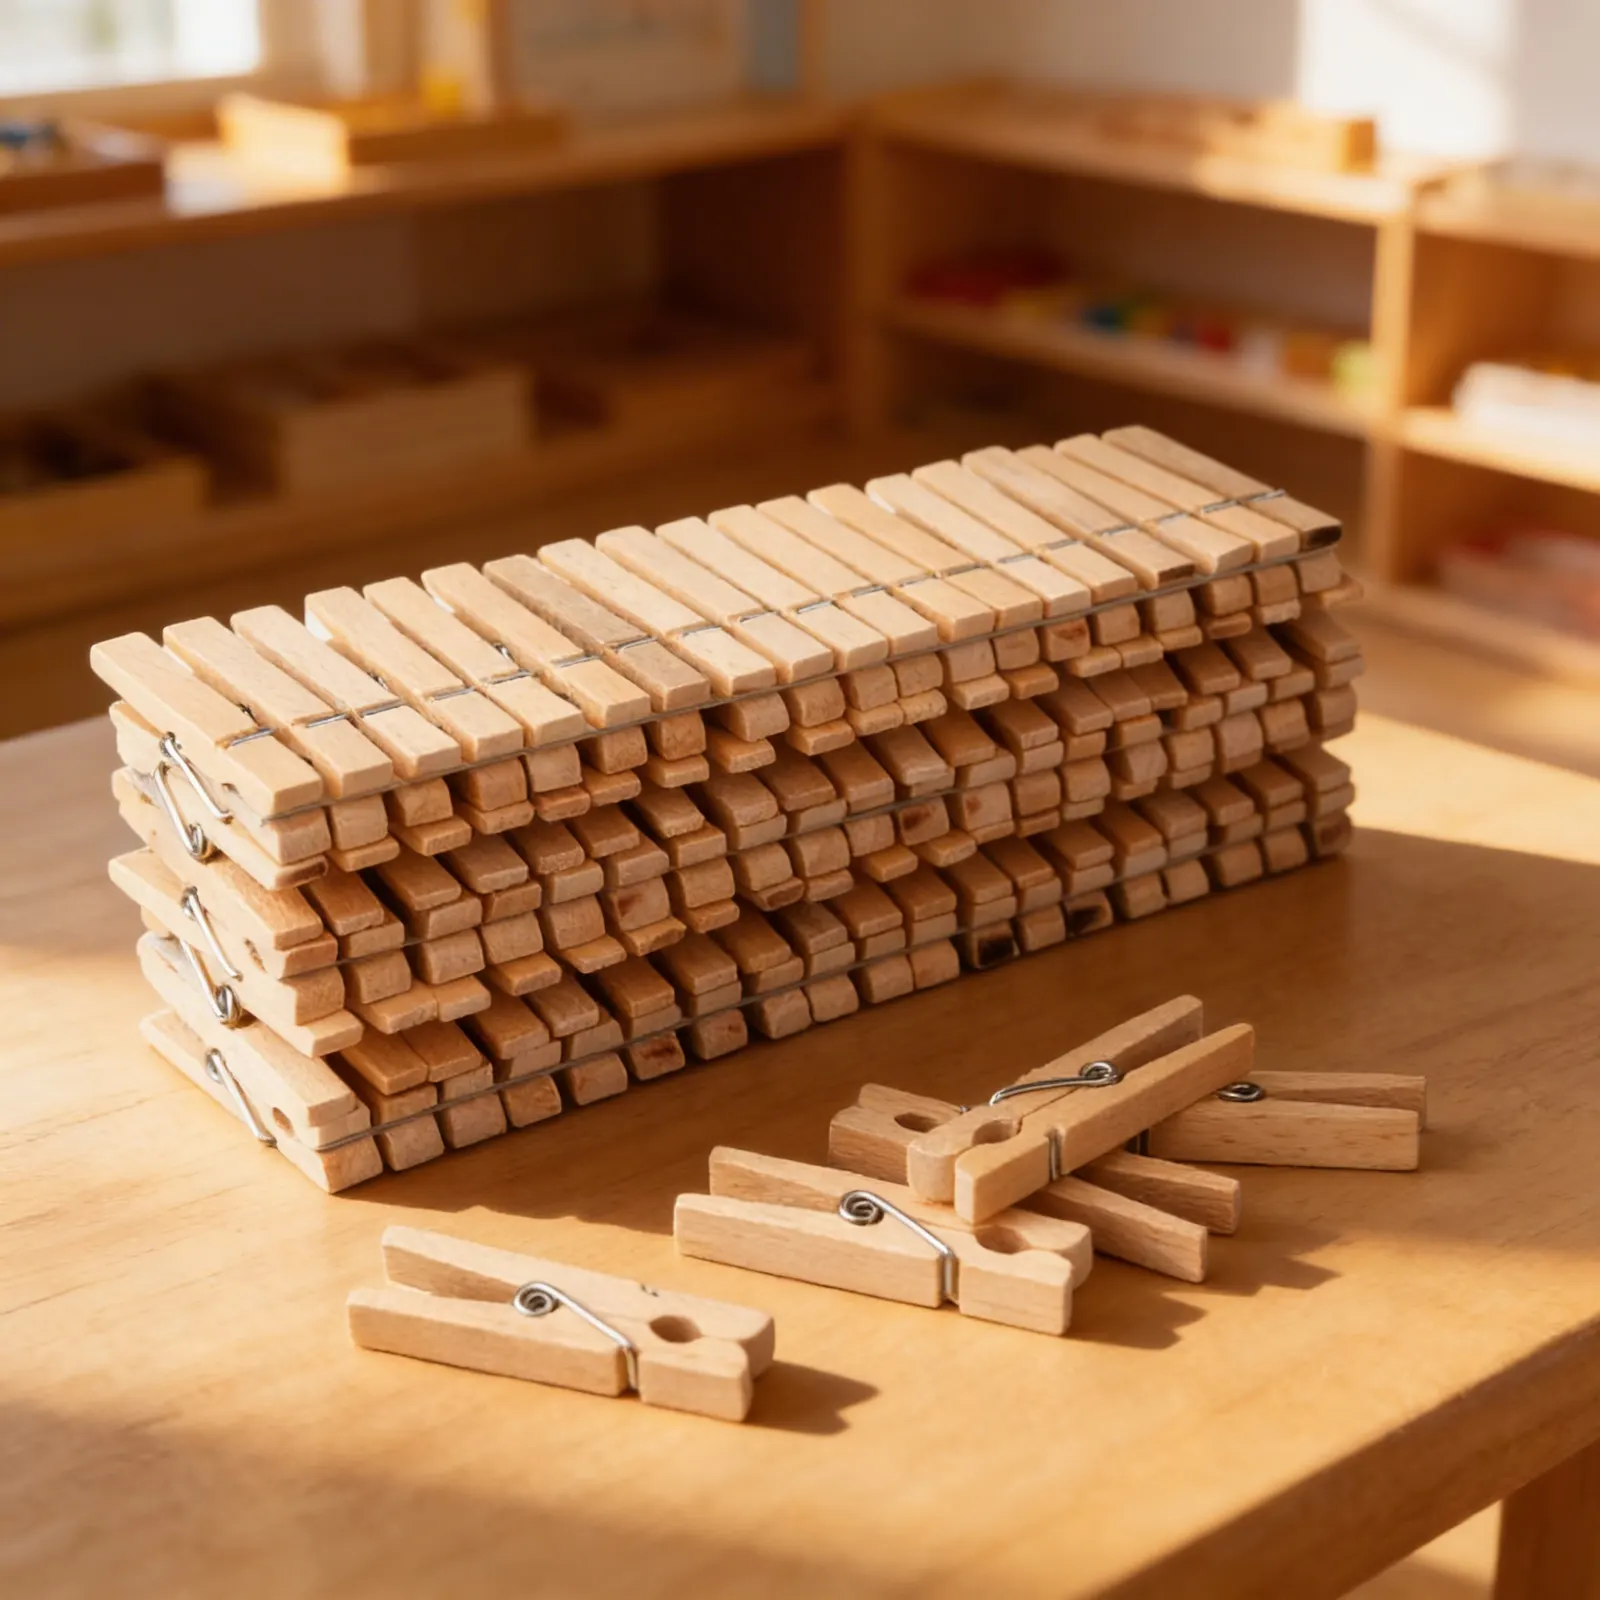
Mini Cloth Pegs are clothes pegs made of waxed beechwood that measure 2.5 cm, and one pack holds 100 pieces. A peg of this size is opened by pressing its two arms together between finger and thumb. When the arms are let go, it closes again. The child opens a peg and lets it close. With 100 pegs in the pack, the child can work with a whole handful or set out a long row. The pack measures 10 × 10 × 3 cm and holds all 100 pegs.
Practical Life Skills
Children gain independence through authentic activities like hanging artwork or helping with laundry tasks.
How to present it
Place 6-8 mini cloth pegs in a small basket on the right side of a tray. Add a small fabric square or low-sided container on the left for attaching pegs.
- 1Demonstrate the three-finger grip: thumb on one side, index and middle fingers on the other side of the peg
- 2Show opening the peg with controlled pressure, emphasizing the spring resistance
- 3Attach the peg to the fabric edge or container rim with deliberate placement
- 4Remove pegs one by one, placing them back in the basket
3 tips for parents
- Create a 'helping station' at home where children use pegs to hang washcloths or sort family members' socks
- Notice if your child avoids peg activities - this may indicate hand muscle weakness needing gentle strengthening through play
- Celebrate small victories like opening a peg independently rather than focusing on perfect placement initially

If you are not sure it suits your child, we answer in person.
Norbert Kovalčín, founder of Faborino · write to him
There is no review here yet. We will ask you for one after you buy. Write the first review
What's in the Box
- Mini cloth pegs: 100 pieces, waxed beechwood
Size and material
| Packaging | 10 × 10 × 3 cm |
| Peg Material | Waxed beechwood |
| Recommended Age | 3-6 years |
Frequently Asked Questions
What size are these mini cloth pegs and how many come in a set?
The mini pegs are made of waxed beech, 2.5 cm long, with 100 pieces in a pack.
How do these pegs help prepare children for writing?
This repetitive motion strengthens the thumb, index, and middle fingers while building hand muscle control essential for writing readiness.
What activities can children do with these mini pegs?
Children can use them for color sorting, pattern making, hanging artwork on string lines, matching activities with colored cards, counting exercises, and practical life activities like hanging doll clothes or creating fine motor busy boxes.
Are these pegs safe for 3-year-olds?
Yes, these pegs are designed for ages 3-6 with smooth wooden construction and no sharp edges. However, adult supervision is recommended for younger children as the metal springs require proper handling and the pegs are small items.
How durable are these wooden pegs compared to plastic ones?
Unlike plastic alternatives, they won't crack or break easily and provide authentic resistance that better develops hand strength through regular use.
Product safety
Manufacturer: Nienhuis Montessori, Anders Celsiusstraat 15, 7442 PB Nijverdal, Netherlands
Mini Cloth Pegs