
The Nail BoardGeometry Exploration
The first photo is the maker's own. The other shots are illustrative.
Inv. no. NIE-063001
- Maker
- Nienhuis Montessori, since 1929
- Approval
- AMI
- Board & Box
- Beech and birch plywood
- Pegs
- Metal (brass)
- EAN
- 8719924013813
Final price incl. VAT. Free delivery.
Advice, warranty and returns are handled by us.
Why it costs €245.90
Behind the price of the original are things you can check yourself.
AMI approval
The material is approved by the Association Montessori Internationale (AMI). Nienhuis has made Montessori materials since 1929.
A verifiable original
The EAN 8719924013813 is on the box. It is the maker's number, not ours.
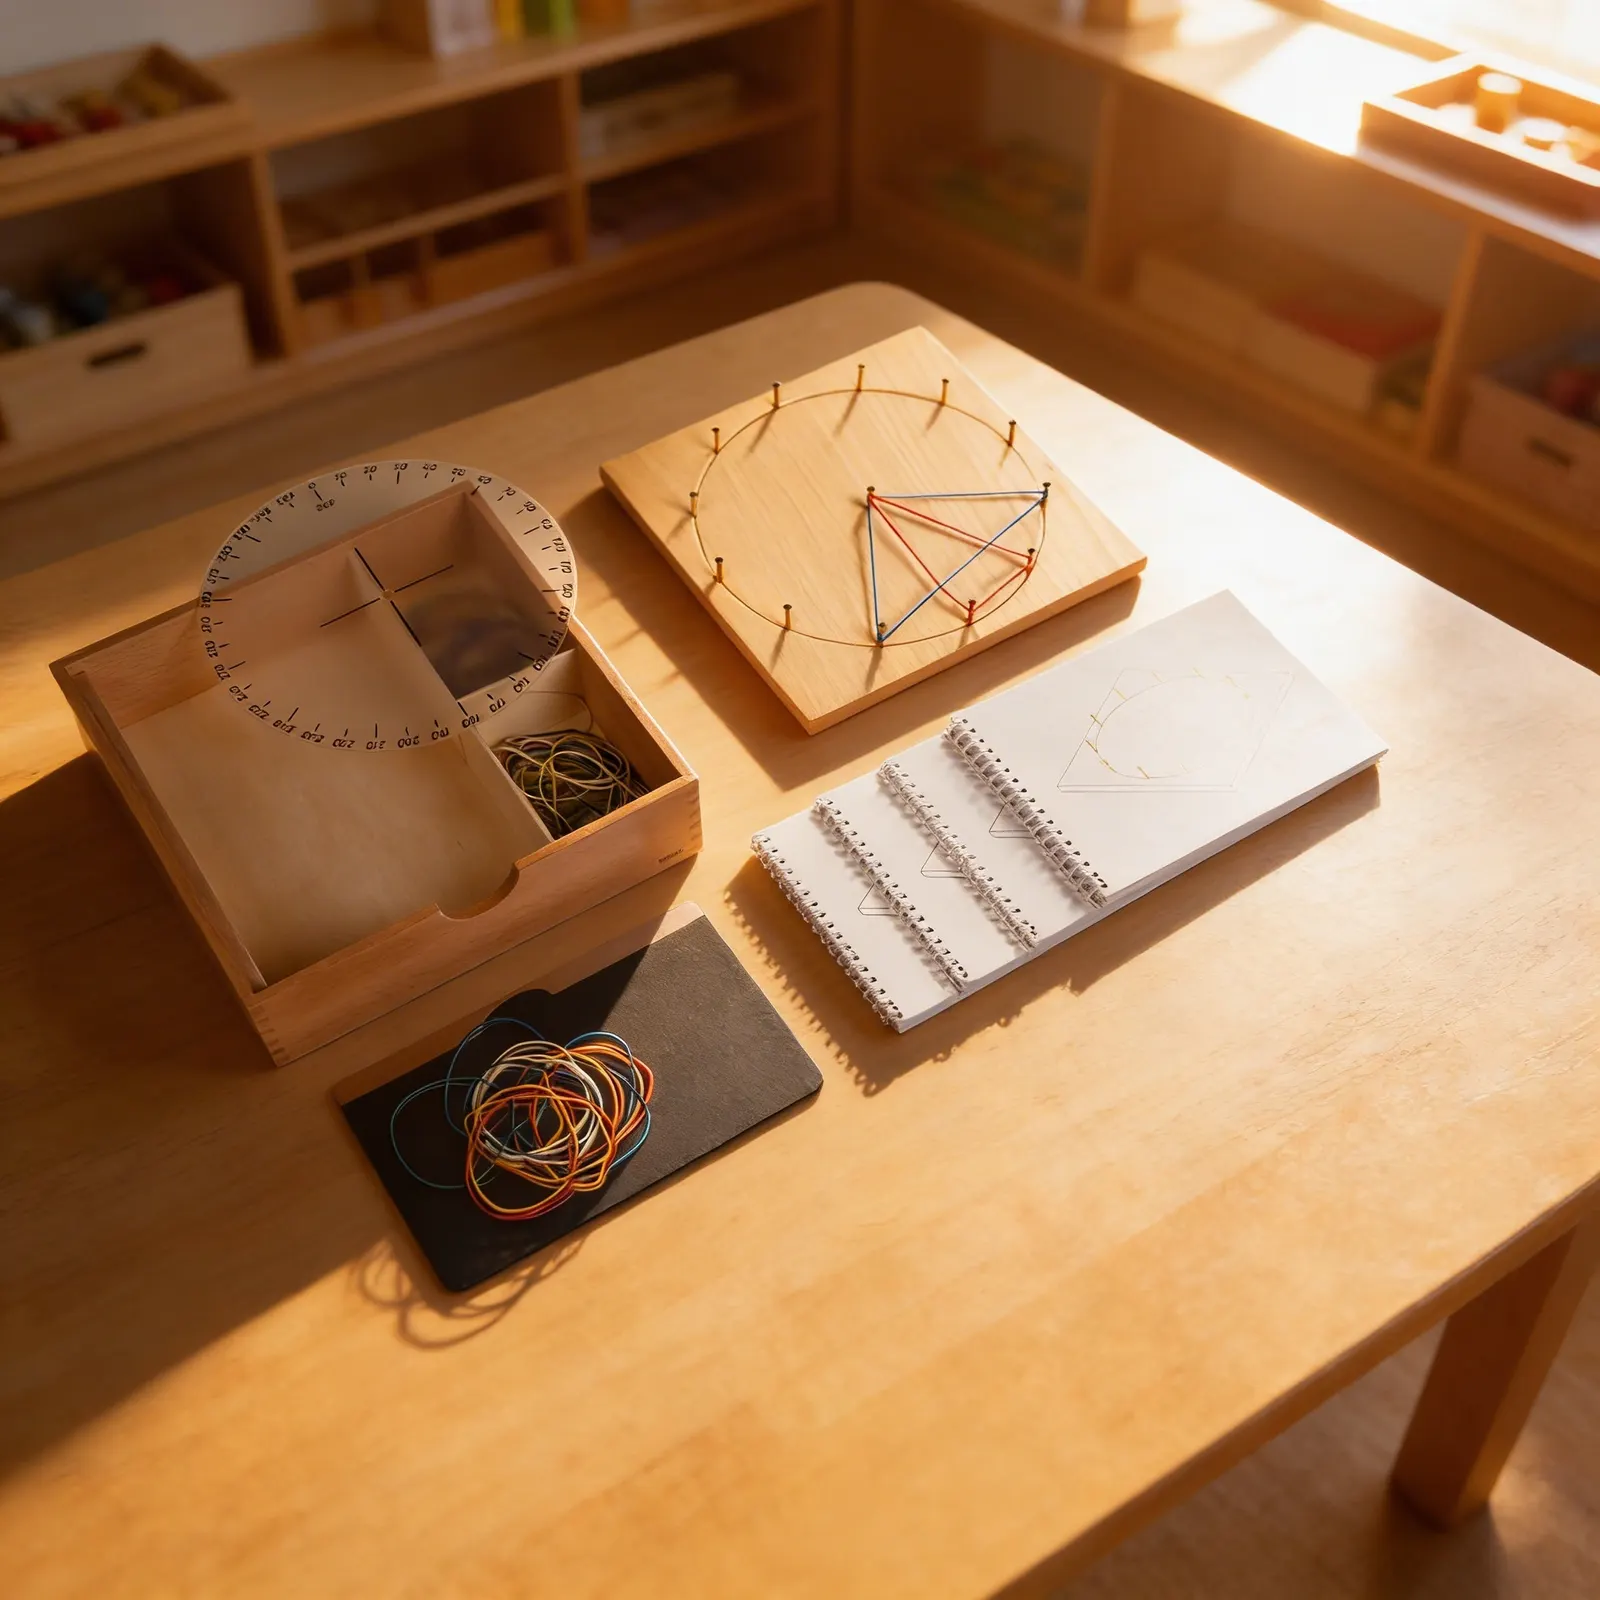
The Nail Board in a child's hands
A beechwood box whose lid is the nail board, so the material and its storage are the same object. A child stretches elastic bands between the nails to make shapes, angles, fractions and patterns, and because a band can be moved with one finger, a wrong shape costs nothing to fix. That is what keeps children experimenting here rather than waiting to be told. The activity books carry the work upward into harder geometric relationships as the child is ready. Beechwood box with coloured elastic bands, for ages 6 to 12.
Mathematical Mind Development
Introduces geometry concepts through hands-on exploration of shapes, angles, symmetry, and spatial relationships in concrete form.
Fine Motor Precision
Stretching rubber bands around pegs develops pincer grip, bilateral coordination, and controlled hand movements essential for writing.
Visual-Spatial Intelligence
Creating and analyzing geometric patterns enhances spatial reasoning and the ability to mentally manipulate shapes.
Problem-Solving Skills
Activity books present progressive challenges that encourage logical thinking and creative solutions to geometric puzzles.
How to present it
Place the Nail Board on a table at child's working height. Arrange colored rubber bands in a small container beside the board. Position the protractor within easy reach.
- 1Demonstrate creating a simple triangle by stretching one rubber band around three pegs
- 2Invite the child to replicate the triangle in a different location on the board
- 3Create a square together, counting the pegs along each side
- 4Introduce the protractor to measure one angle of the square
- 5Challenge the child to create their own shape and describe it
3 tips for parents
- Create shape hunts at home, finding rectangles, triangles, and other shapes to recreate on the board
- Use graph paper to record favorite creations, developing drawing and planning skills
- Practice counting sides and corners while building, reinforcing mathematical language naturally

If you are not sure it suits your child, we answer in person.
Norbert Kovalčín, founder of Faborino · write to him
There is no review here yet. We will ask you for one after you buy. Write the first review
What's in the Box
- Beechwood box with lid: The lid doubles as the nail board
- Elastic bands: Red, green, blue and yellow
- Mirror: Included in the set
- Protractor: Clear plastic angle measurement tool
- Four activity books: Progressive geometry challenges
- Instructions: Included in the set
Size and material
| Packaging | 28 × 28 × 9 cm |
| Board & Box | Beech and birch plywood |
| Pegs | Metal (brass) |
| Bands | Elastic, red, green, blue and yellow |
| Protractor | Clear plastic |
| Recommended Age | 6-12 years |
Care
Wipe wooden surfaces with dry cloth; store rubber bands away from direct sunlight
Frequently Asked Questions
What skills does the Nail Board develop in children ages 6-12?
The Nail Board develops spatial awareness, fine motor skills, geometric understanding, and early mathematical concepts. Children learn to recognize shapes, understand perimeter and area, explore angles, and develop problem-solving abilities through hands-on manipulation of rubber bands on the peg board.
How does the included protractor enhance the learning experience?
The protractor introduces angle measurement concepts in a concrete way, allowing children to not only create angles but also measure them. This bridges the gap between hands-on exploration and abstract mathematical thinking, preparing children for more advanced geometry concepts while maintaining the Montessori principle of concrete-to-abstract learning.
What types of activities can children do with the Nail Board?
Children can create various geometric shapes (triangles, squares, polygons), explore symmetry, practice pattern-making, measure angles with the protractor, investigate area and perimeter concepts, create letters and numbers, and design their own geometric art. The material supports both guided lessons and creative exploration.
Can children use the Nail Board independently?
The Nail Board is intended for children aged 6 to 12. It has metal nails, so adult supervision is recommended at first to make sure the nails and the elastic bands are used properly.
How does this material align with Montessori mathematics curriculum?
The Nail Board perfectly embodies Montessori's sensorial approach to mathematics by allowing children to physically construct and manipulate geometric concepts. It serves as a bridge between sensorial materials and mathematics materials, preparing children for later work with geometry, fractions, and measurement while developing the mathematical mind through concrete exploration.
Product safety
Manufacturer: Nienhuis Montessori, Anders Celsiusstraat 15, 7442 PB Nijverdal, Netherlands
The Nail Board